The fantasy woodland monster we’ll be creating is made up of lots of simple rounded shapes to give the character a friendly appearance. The large eyes in relation to the size of the body is the key ingredient to creating a cute and lovable character.
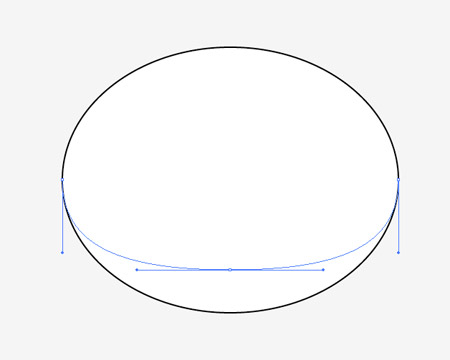
Open up Adobe Illustrator and draw an ellipse on the artboard. Select the Direct Selection tool then drag the lowermost point vetically upwards to flatten off the lower edge.

Select the uppermost point and drag it vertically to create more of a pointed shape.
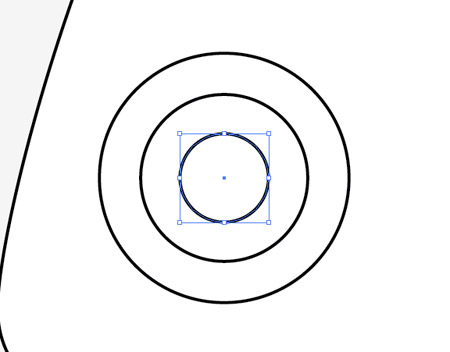
Inside the body area use the circle tool to draw the outlines of an eye. Copy (CMD+C) and Paste in front (CMD+F) each new circle then scale it down while holding the Shift and Alt keys.

Make a duplicate of the eye shapes then group them together. Select the eyes along with the body outline, then give the body outline a second click to set it as the key object. Use the Align palette to centre everything up.
Flatten the upper edge of a smaller ellipse using the Direct Selection tool to create the basics of a mouth.
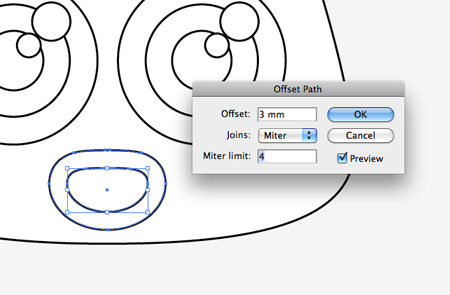
With the mouth selected, go to Object > Path > Offset path and enter 3mm in the options window. Right click the shape and select Ungroup.
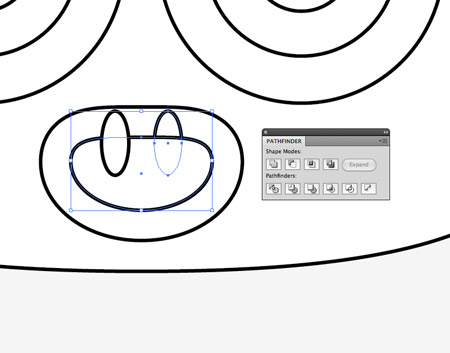
Draw two smaller ellipses to represent two teeth, then make a copy of the inner mouth shape. Use this shape as a tool along with the Pathfinder palette to trim the teeth shapes to size.
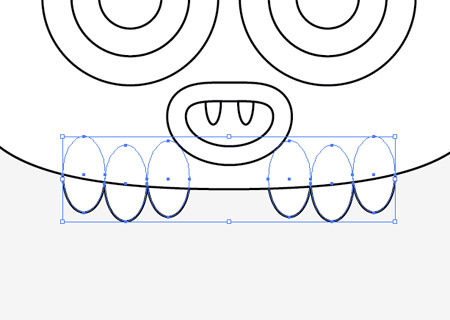
Group three ellipses to represent simple feet, then position them underneath the other objects using the CMD+Shift+[ shortcut.
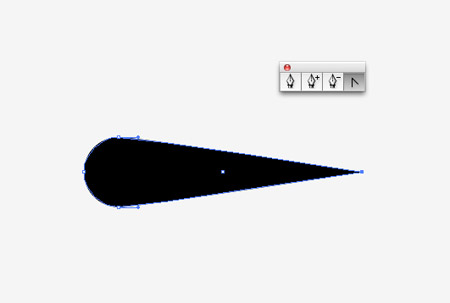
Draw a black circle elsewhere on the artboard then drag out the right-most point horizontally. Use the Convert Anchor Point tool to create a sharp point, then press the 'new' icon at the bottom of the Brushes palette.

In the options make sure the direction of the brush is correct, then change the Colorization Method to Tints.
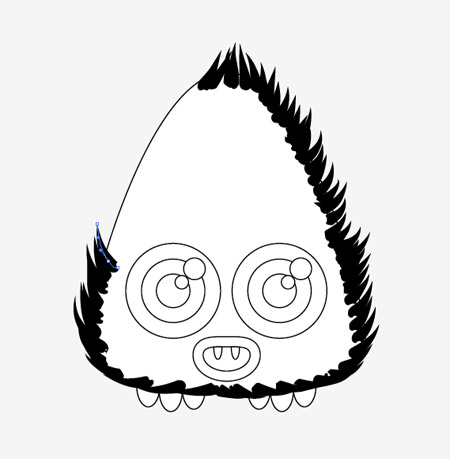
Use this brush with the Brush tool to draw a series of lines around the edge of the character.
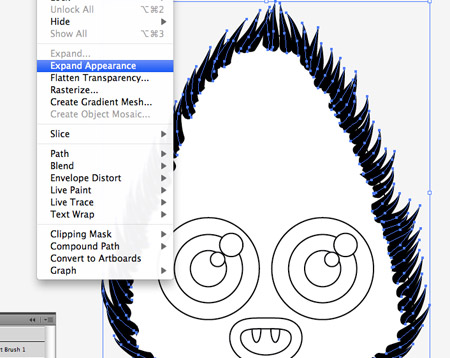
Select one of the black brush shapes and go to Select > Same > Appearance, then go to Object > Expand Appearance to convert the strokes to solid shapes.
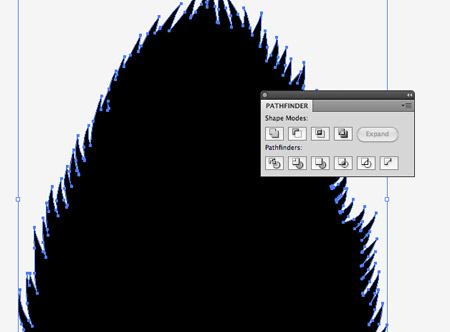
Shift-Click the main body shape to add it to the selection then hit the Merge option from the Pathfinder window to blend all the shapes together.
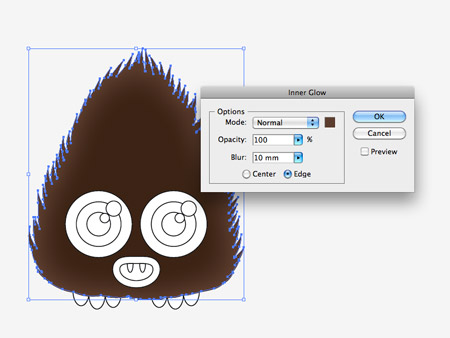
Give the shape a brown fill, then add an Inner Glow effect using a slightly lighter brown tone. Change the settings to Normal and adjust the size to suit.
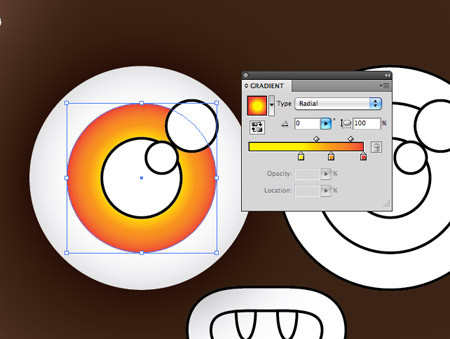
Begin adding a range of gradient fills to the eye shapes. Use a subtle grey to white on the outer shape, a bright series of colours for the iris and a black to dark grey for the pupil.
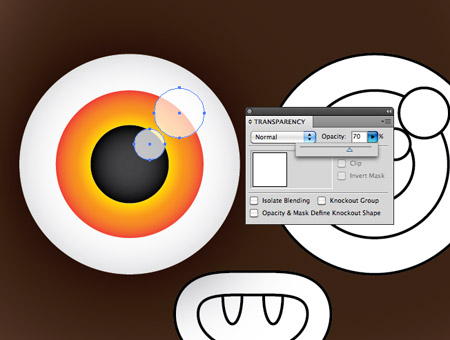
Give the two extra white circles 70% opacity to help them give the impression of a specular highlight.
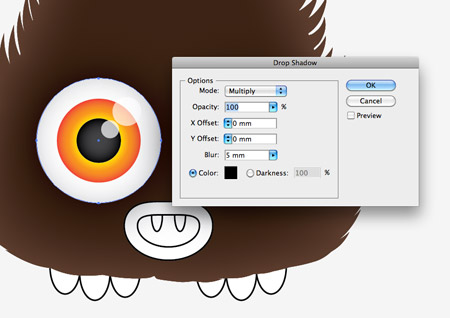
Select just the outer shape from the eye group and go to Effect > Stylize > Drop Shadow. Adjust the settings to 0 offset and 100% opacity. Adjust the size to around 5mm.
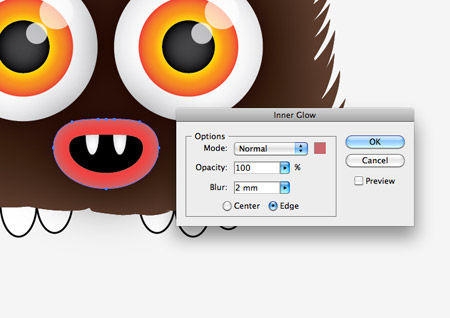
Fill the mouth shapes with the relevant colours, then add an Inner Glow effect to the lips to give a lighter red fade around the edges.
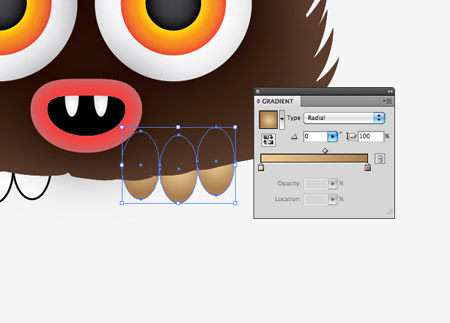
Finish off the colouring process with some simple radial gradients on the feet.
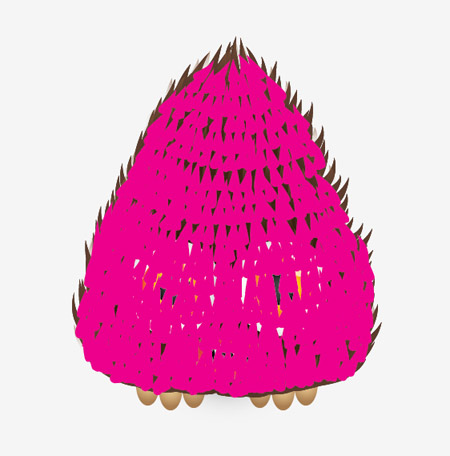
Use the custom brush we created to draw more shapes with the Brush tool. Use a random colour to make them easy to identify. Draw rows of shapes until the whole body shape is covered.
Select one of the new shapes then go to Select > Same > Appearance to select all the shapes, then go to Object > Expand Appearance.
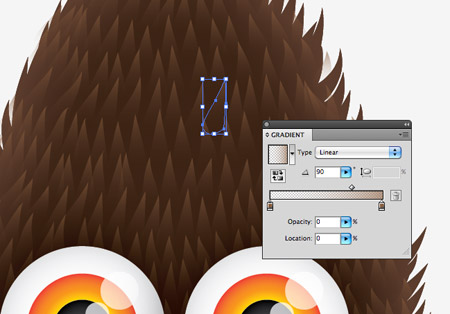
Give these shapes a gradient fill using a light brown tone. Set one of the gradient handles to 0% opacity then adjust the gradient angle to flow vertically.
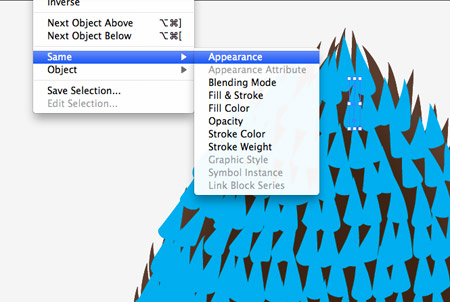
One layer of hair shapes add some cool detail to the character, but two layers really add an extra level of depth. Use the brush tool again to draw another series of brush strokes.
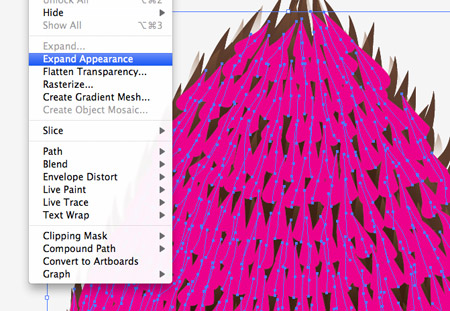
Go to Select > Same > Appearance then click the Object > Expand Appearance option to convert the strokes to shapes.
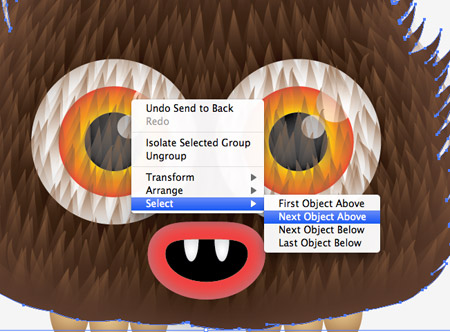
The extra fur will currently be overlaid over the facial features. The easiest way to select these shapes it to begin with the main body then use the Select Next Object Above command. Once selected, hit the CMD+Shift+] shortcut to send the objects to the top.
adapted from : http://blog.spoongraphics.co.uk/tutorials/how-to-create-a-cute-hairy-vector-monster-character


.jpg)


0 komentar:
Posting Komentar